Integrating New PayPal Smart Buttons with Vue.js Quasar and iOS
This is my personal experience integrating the new PayPal Smart Payment Buttons with a reactive Vue.js framework called Quasar — I ran into problems and found solutions.
Today let’s code a PayPal Smart Payment Button Checkout.

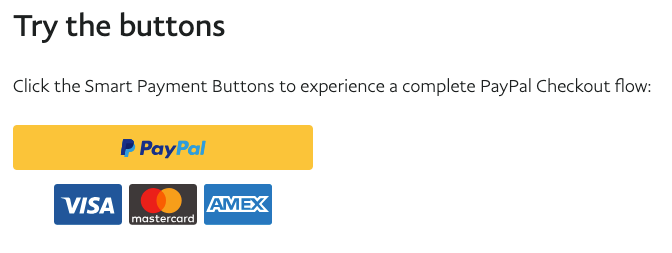

At quick glance everything looks great; copy the code into your project and mission complete.
Easy…
What if you are using reactive UI components such as QBtnDropdown for a shopping cart list?
Some developer background: my sandbox songxy.com uses Quasar (thanks to creator Razvan Stoenescu) a reactive Vue.js framework. It supports many platforms and browsers out of the box.
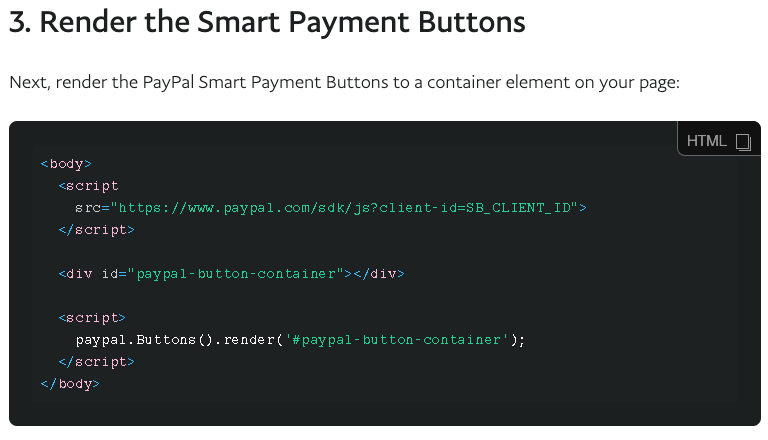
Understanding my requirements I continued with the PayPal example to step 3: render the button into my UI element.
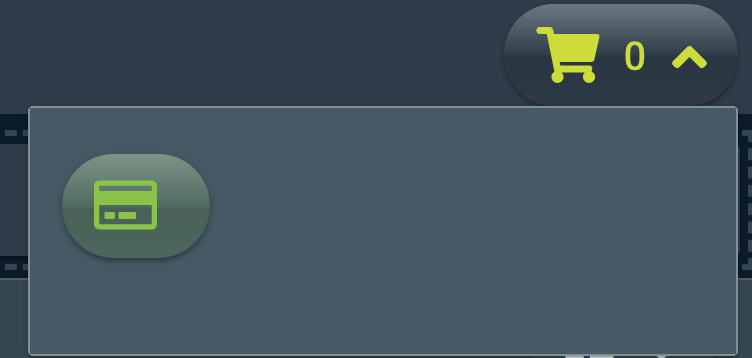
Attempt #1 call PayPal render button function to render <div id=“paypal-button-container” /> inside of the drop down box whenever @click event was triggered by drop down button.
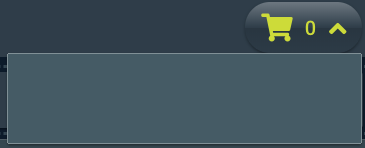
As you can see from the screenshot and the error message below this did not work.

It turns out <div id=“paypal-button-container” /> in my dropdown box is rendered dynamically and reactive on click events meaning it only exists when it dropped down. The PayPal smart buttons cannot find the div to render into.
Attempt #2 clicking a checkout button inside the dialog box calling the PayPal render button.
Clicked!
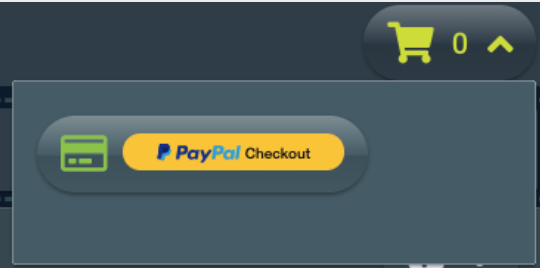
That worked because the button and div existed in the drop down when clicked. However, an extra click reduces customer conversion rates.
There must be a better way…
Attempt #3 add some more code Vue function $nextTick with PayPal render button.

Works!
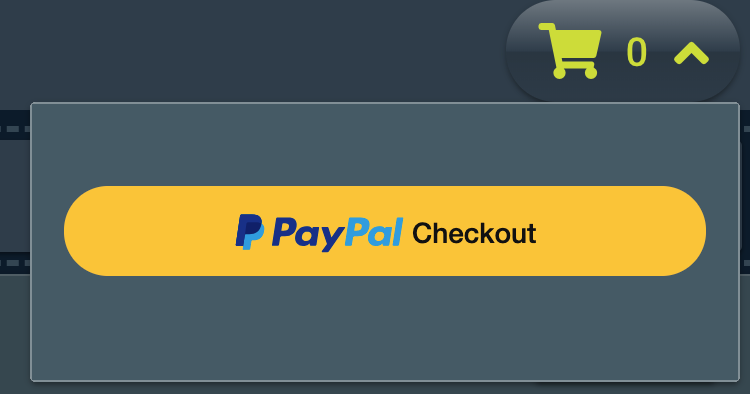
But what happens when you run this on an iOS device such as iPad or iPhone?

Broken…
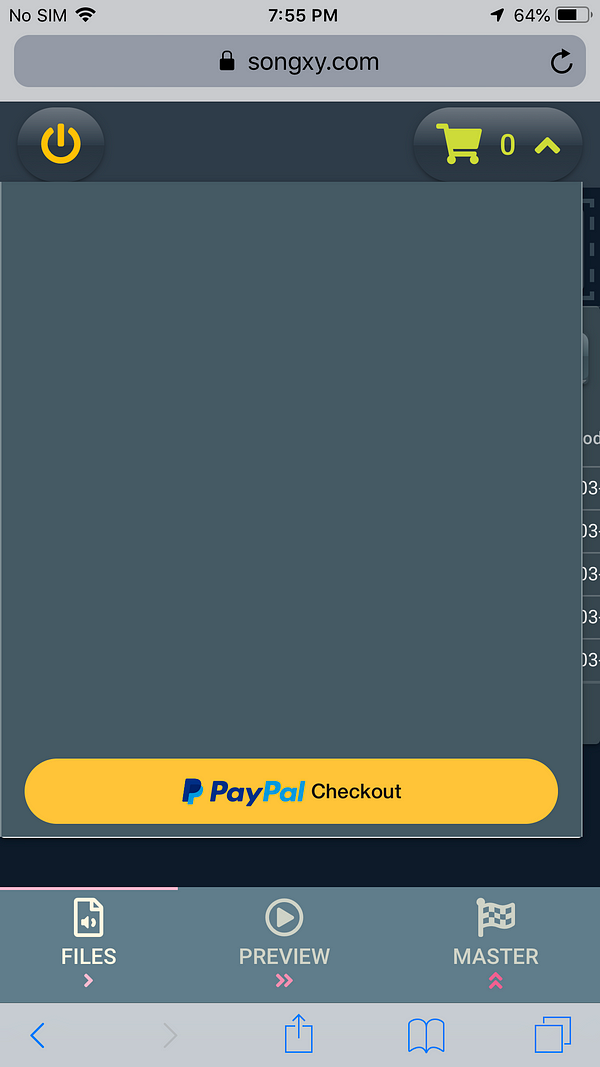
Every time your drop down box drops you will get a new blank space at the top that pushes your new working button down.
It keeps moving down indefinitely.
How do we solve this problem?
The solution here is to clear out the empty dynamic code that was left over by the PayPal Smart Button and not cleared for us by iOS. You can do it with the code below:

Next… Show me the money
Creating the checkout experience with UI customization — here we have itemized billing controlling item name, quantity, sku#, tax, price and currency.
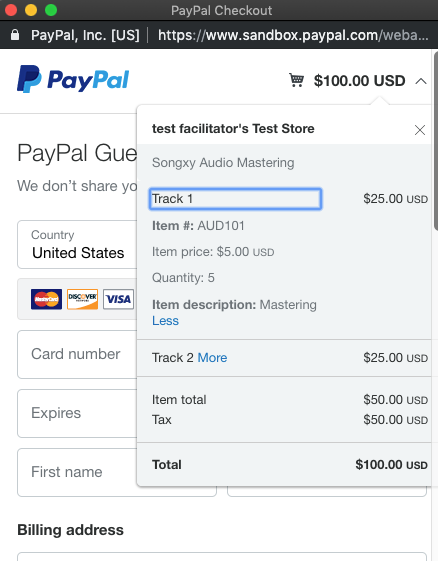
The documentation at PayPal was difficult for me to navigate through. I eventually worked out a way to do it.
How did I do it?
I passed the function paypal.Button() a dictionary it can understand.
Let’s begin with “style” — we wanted a responsive pill shaped button with a checkout label and no tagline. Gold was a nice color and our view was horizontal giving us a basic button. If you want to try different UI shapes and designs take a look at the link below for inspiration:
Customize the PayPal Checkout Button - PayPal Developer
PayPal Checkout offers several style options to customize the look and feel of your smart payment button. You can also…developer.paypal.com
PayPal Checkout offers several style options to customize the look and feel of your smart payment button. You can also…developer.paypal.com
Follow the code gist below demonstrating style and itemized billing in the checkout window:
If you see Amazon AWS Amplify references in there it’s because that is my current backend and I wanted a way to store identifiable customer data within the checkout process and keep track of who paid what, when, where, and how.
I hope this helps people integrate with the new PayPal Smart Buttons.
If you know any other gotchas or special cases like the ones above please let me know and I’ll add them to the list.
Here is the official integration guide from PayPal
If I helped you in some way please clap and subscribe below:
Sign up for the newsletter!
Get solid gold sent to your inbox. Every week!